本篇文章是在参考并综合了网上的一些方法,结合实际操作后完成,希望能够给大家提供帮助。
环境
安装centos系统的搬瓦工VPS
在github.com中登录的账号
软件:nodeJs、git、nginx、hexo
步骤
1.安装nodejs
我这里安装的是v8版本,因为hexo next建议安装node v6以上,以免出现其他不支持的错误。1
2
3
4
5
6
7
8
9
10
11
12获取文件并解压到指定目录
wget https://npm.taobao.org/mirrors/node/v8.0.0/node-v8.0.0-linux-x64.tar.xz
tar -xvf node-v8.0.0-linux-x64.tar.xz
mv node-v8.0.0-linux-x64 /usr/local/node
添加/etc/profile配置-加入如下两句
export NODE_HOME=/usr/local/node
export PATH=$NODE_HOME/bin:$PATH
使设置生效
source /etc/profile
验证版本
node -v
npm -v
2.v安装git和nginx
这里网上很多,我也是安装其他程序的时候已经好了,下面给出的方法可以自行尝试。1
yum -y update yum install -y git nginx
3.安装hexo
具体命令如下:1
2
3
4
5
6
7
8
9
10
11
12
13
14
15
16
17
18
19
20
21
22
23
24
25
26新建用于存放hexo博客站点的目录,并赋予权限
mkdir -p /data/www/hexo
chown -R $USER:$USER /data/www/hexo
chmod -R 755 /data/www/hexo
进入目录
cd /data/www/hexo
安装hexo
npm install -g hexo-cli
初始化hexo
hexo init
安装插件
npm install hexo-generator-index --save
npm install hexo-generator-archive --save
npm install hexo-generator-category --save
npm install hexo-generator-tag --save
npm install hexo-server --save
npm install hexo-deployer-git --save
npm install hexo-deployer-heroku --save
npm install hexo-deployer-rsync --save
npm install hexo-deployer-openshift --save
npm install hexo-renderer-marked --save
npm install hexo-renderer-stylus --save
npm install hexo-generator-feed --save
npm install hexo-generator-sitemap --save
可先查看默认配置文件(待github项目建成后方可配置)
view /data/www/hexo/_config.yml
4.生成ssh秘钥
vps上生成ssh秘钥,后面会在github上使用1
2
3
4
5
6注意-C后面跟的是你在github上注册时的邮箱
ssh-keygen -t rsa -C [email protected]
接下来会让你选择存储地址,我选择的是默认的,直接按ENTER键即可
然后会让你输入和确认密码
查看生成好的公钥
less ~/.ssh/id_rsa.pub
5.新建远程github项目
在github.com登录你的账户,新建一个github项目,项目名一定要设成:_账户名.github.io(其中用户名为你github的账户名)
将第4步生成的公钥复制并配置到你的github中,配置地址 (界面里选择Add An SSH Key进入)
将新建项目的ssh地址复制出来,注意clone地址时选择的是ssh样式的 _(例如:[email protected]:账户名/账户名.github.io.git)
6.配置hexo
1 | #还记得第3步最后的这句吗 |
7.配置git
进入配置命令行,输入下面命令:1
2
3
4
5
6
7配置git用户名,即为github上的用户名
git config --global user.name "github用户名"
配置git邮箱,即为github上的邮箱
git config --global user.email "github邮箱"
如果想测试连接是否正常,可执行下面这句
ssh -T [email protected]
待输入密码后看到successful字段,即表示连接配置正常
8.配置nginx
找到nginx的配置文件,我的在/etc/nginx/conf.d/virtual.conf,加入如下配置:1
2
3
4
5
6
7
8
9#将转发给hexo,特别注意hexo的网页文件在public目录中
server {
listen 80 ;
server_name www.example.com; # 填写个人域名
location / {
root /data/www/hexo/public;
index index.html index.htm;
}
}
9.编译hexo资源
上面一切就绪,可以编译生成网站文件并上传github了1
2
3
4
5
6打开网站目录
cd /data/www/hexo
编译hexo
hexo generate
上传并更新到github上
hexo d
10.通过github结尾的网址访问
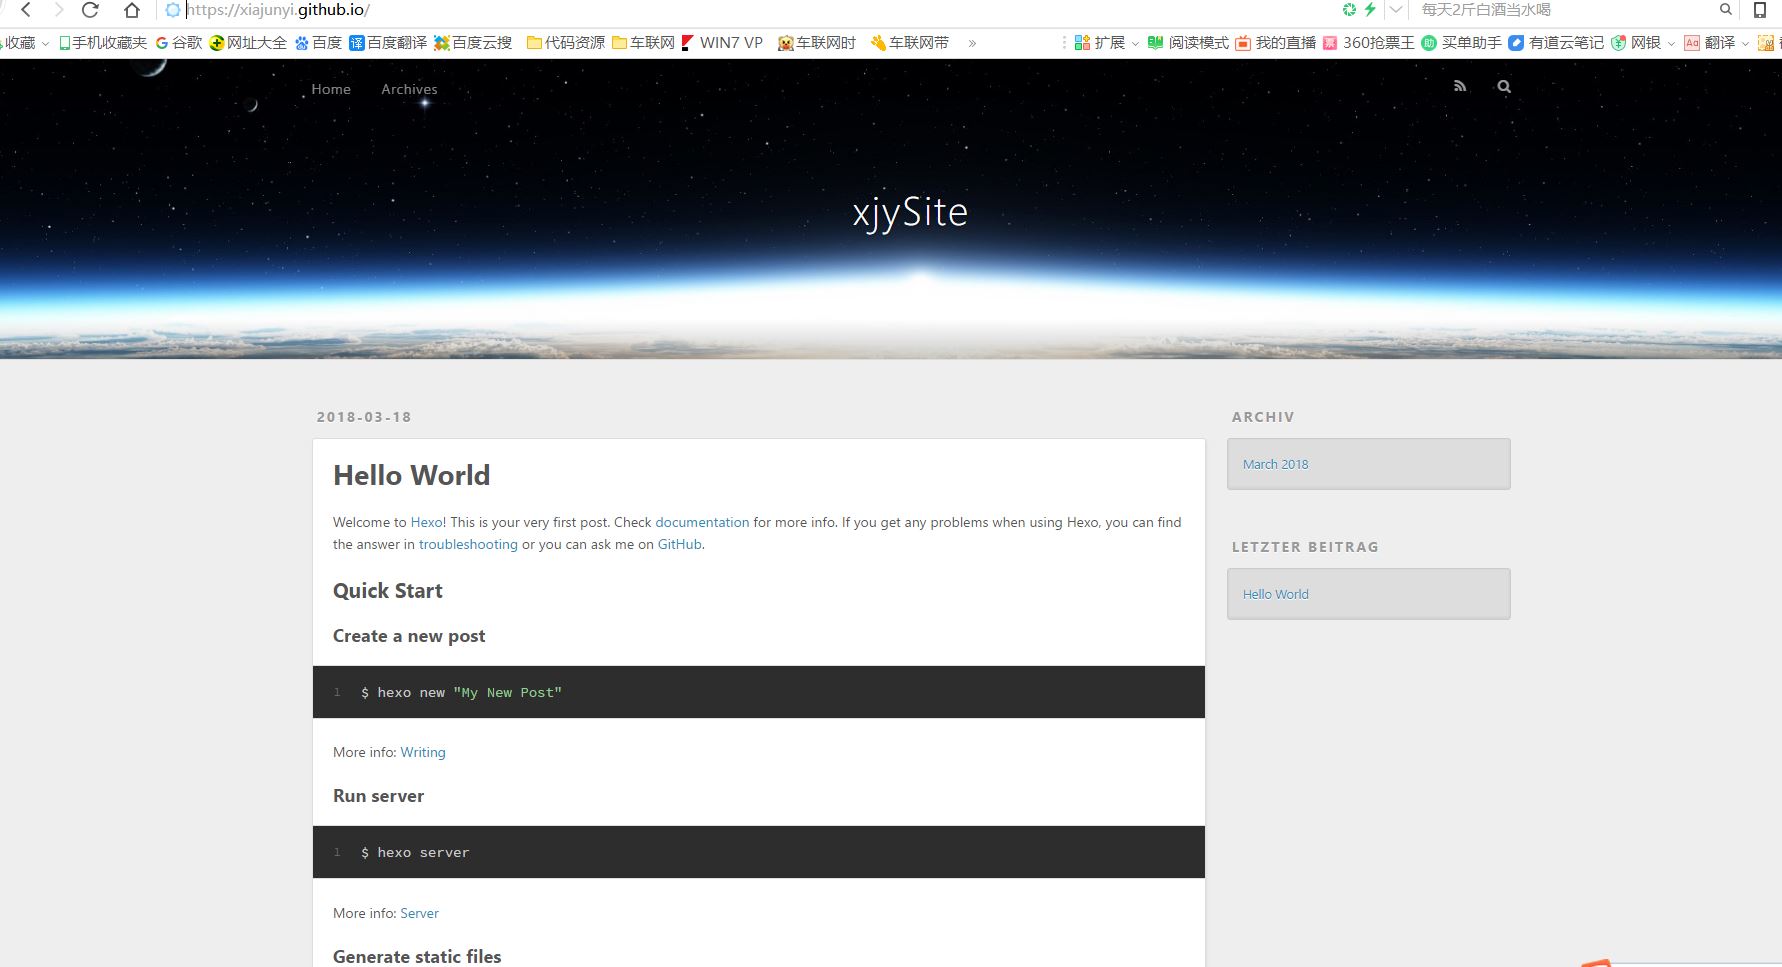
账户名.github.io,例如我的https://xiajunyi.github.io/,第一次进入后的界面还是很清爽的。

11.自定义域名访问
当然大部分人也想通过自己的域名访问(那就是第8步在nginx中配置好的域名了),比如我现在配置的,http://hexo.xiajunyi.com/,别忘了启动nginx哦!
service nginx start
12.后续安排
下一步我要考虑把wordpress网站的文章迁移过来了,这篇文章就先到这里吧,后面再更新迁移的方法。
参考链接
本文链接: https://www.xiajunyi.com/pages/p5.html
版权声明:本作品采用知识共享署名-非商业性使用-相同方式共享 4.0 国际许可协议进行许可。转载请注明出处!


